Well, I was watching the A Team while finishing the front wheel, so it had to be said. Characteristics of a good wheel building workspace: 1) properly calibrated equipment; 2) the correct components; 3) plenty of lighting; 4) good ergonomics; and 5) some sort of palaver in the background. Hello, A Team.
 |
| Note the super cool stamped Sapim on the spokes. In your face, DT Swiss! |
This is the first radially laced wheel I've built with spoke elbows out. Nearly all radial lacing occurs with spoke heads pointed out. Not sure why, but as this is the internet, I am free to speculate: 1) to ensure proper clearance between the spokes and the fork; 2) because it looks better than elbows out; and/or 3) tradition. There is an advantage to building with elbows out: the spoke bracing angle is increased, so the wheel will be 13 percent stiffer than with heads out. It's a scientific fact.
The spoke bracing angle is something I'm only learning about, so I won't dig into an explanation here. For the moment let it suffice to say that the farther outboard the flanges move, the stiffer (laterally) the wheel will be. If you can't wait, here is an explanation of the importance of the bracing angle.
What I learned today: the difference between a 21 and 22 is not the same as the difference between a 15 and 16. For the standard 1.8mm section (as you would find on a 14/15 gauge spoke, really a 2.0/1.8mm spoke) the jump from 15 to 16 is 540 to 590 N; the jump from 21 to 22 is 990 to 1110 N. Once you get higher on the tensiometer the gap between the numbers widens: 25 to 26 is 1550 and 1750 N, respectively. That's a huge difference.
The reason I bring this up is two-fold: 1) I just figured it out; and 2) any wheel builder who advertises spokes tensioned to +/- 10% is probably quoting the numbers off the Park Tool and not the units of force that are being represented.
 |
| The only true way to measure oneself. |
I spent a lot of time with the tensiometer this morning. It's a bit unwieldy, so for spot checks of spokes I pluck them. Plucking is actually more accurate then the meter--as long as you have a good ear (thank you Dr. Suzuki!). Note: the pitch of the spoke will vary according to the number of crosses (length), the diameter of the spoke, and its tension (obvi). There's an iPhone app out there which will help you with this task.
Once the wheel has been tensioned and trued, the taping of the rim bridge comes next. There are a few options here: plugs, nylon rim strips, cloth tape, and Stan's tape. All of these have advantages and disadvantages. I use Stan's tape because it is super strong and thin. It's that second characteristic that I'm particularly concerned with (hint: cloth tape is much thicker and can hinder tire installation). It's two layers of 21mm Stan's all the way for Jackass Wheelwerks.
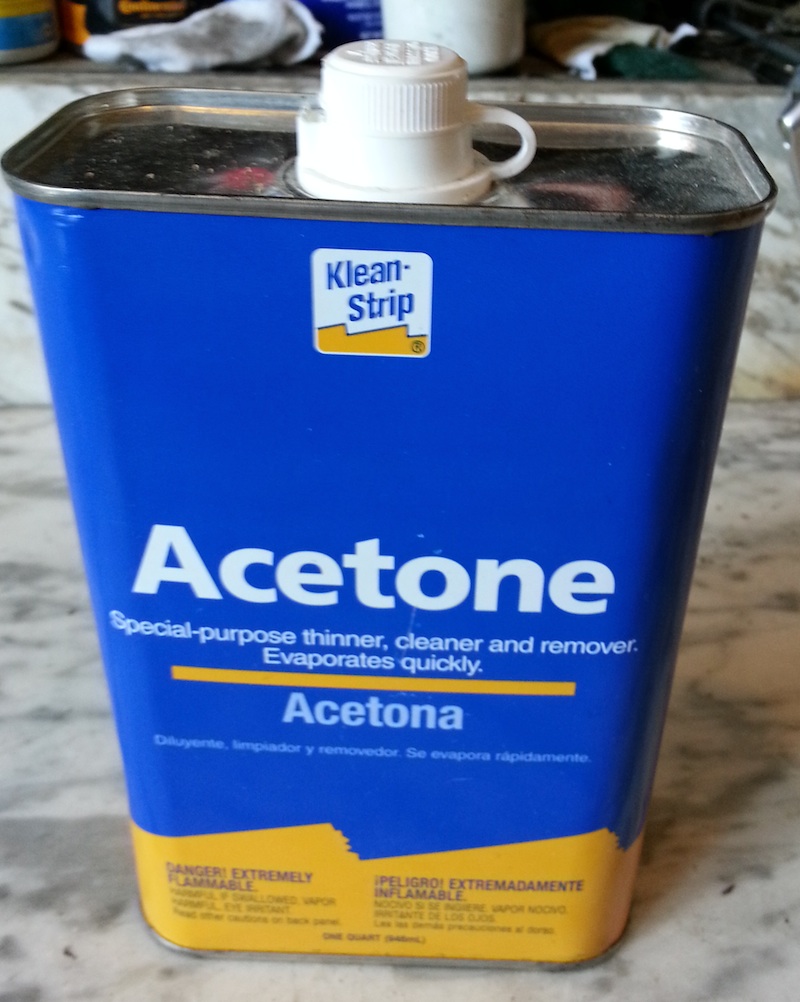
Cleaning the rim is the second to last step. The linseed oil will sometime get on the sidewall and brake track of the rim. I've tried all the cleaners; Acetone is the best. Why screw around? Ten bucks at the same hardware store where I got the linseed oil. It also works for taking glue off tubular rims.
Last step
Admire your work. This is best done by test riding the wheels. This is the responsible thing to do before turning a wheel over to a customer. Also, it is the best payoff for all those hours you invested in building the wheel. It is a very satisfying thing when the wheel you just built is solid and responsive under sprint power, and confidence-inspiring in a descent. Second best payoff: the customer enjoying his/her wheels.


